Pages

Showing posts with label healthy living. Show all posts

Saturday, May 31, 2014

Personal Pizzas with Eggplant Crust

Ever thought, why does pizza have to come on a doughy crust? I did too. Well, I was perusing the internets when I came across a unique take on homemade pizzas. Eggplant pizza? What, even? Intrigued, I scanned the recipe; realizing I had the majority of the ingredients I seriously went to Trader Joe's just to buy an eggplant. Only an eggplant. That's all. This is the aftermath which a few of my friends so luckily got to enjoy.

Photo courtesy of the Instagram: ZeroDecorum

Ingredients:

  • 1 eggplant                              ($0.89)
  • 1 cup marinara sauce            ($0.53)
  • 4  vegan italian sausages      ($1.35)
  • ½ cup vegan mozzarella        ($0.96)
  • 2 tbsp vegetable oil                    -
  • enough coarse sea salt to coat both sides of the sliced eggplant but I did not measure so I am not sure how much that is, sorry


Preparation:


Preheat the oven to bake at 400ºF. Slice the eggplant into ½ inch slices. If sliced too thin, the salting and baking will cause the eggplant to get soggy and crumble. If sliced too thick, the baking process will not make the eggplant crispy enough to hold the weight of the ingredients. I have found that ½ inch thick slices yield the most sturdy, crispy pizzas; every eggplant is different so you may have to adjust the thickness for your liking. Coat both sides of the eggplant with the coarse salt and let sit for 15-20 minutes. Salt brings out the bitter taste inherent in the eggplant; after 20 minutes wipe all moisture and residue off of the eggplant slices. Slice the sausages and fry them in oil until crispy. Heat the marinara sauce on the stove until warmed through. Lightly sprinkle the eggplant slices with sea salt and set on an oiled baking sheet. Bake for about 20 minutes but do not let the eggplant get mushy when baked too long. Remove the slices and top with the sauce, sausage, and cheese. Set the oven to broil and place the pizzas in for about 3 minutes, just to melt the cheese. Remove and devour. 

The smaller end of the eggplant will make mini bite sized pizzas
while the larger end makes personal "pan" pizzas

Place the eggplant slices on a paper towel before salting to ensure
the most moisture is absorbed and the bitterness removed

Sometimes the smaller slices will get crispy quicker than
the larger slices so keep checking while baking and remove if necessary

Tofurky is my go-to faux meat
WATCH OUT: Trader Joe's meatless Italian Sausage contains egg whites!
 
Slice the sausage into ½ inch slices for a more meaty texture
Slice thinner for a crispier variation


I usually place the cooked sausage bites on a paper towel
to soak up that extra oil
I KNOW, I am THAT person who dabs their greasy pizza...

Fav sauce right now: Trader Joe's Tomato Basil 

Yurm

Whatta feast!

Thursday, May 29, 2014

Oven Roasted Chili-Crusted Cauliflower

Impoverished Vegan is not dead. I promise. I had a really crazy past few months and had to take a little break from cooking and writing. I had to take a school trip to Washington DC at the end of the semester with finals falling as soon as I got back; I was also in the middle of a huge job change. Things have finally settled down. Enough with the personal details. Let's cook some cauliflower!!


Ingredients:

1 whole cauliflower                  ($0.99)
1 tbsp vegetable oil                      -
1½ cups vegan sour cream     ($0.75)
1 lemon, zested and juiced     ($0.10)
2 tbsp chili powder                  ($0.20)
1 tbsp cumin                            ($0.05)
1 tbsp garlic powder                ($0.03)
1 tsp curry powder                       -
2 tsp sea salt                                -
1 tsp black pepper                       -

Preparation:


Preheat the oven to 400°F. Spread the olive oil evenly over a baking sheet. Peel the green leafy stems from the base of the cauliflower. Cut the base level and flush with the florets so the cauliflower will sit evenly on a flat surface. Stir together the sour cream, lemon zest and juice, chili powder, cumin, garlic powder, curry powder, sea salt, and black pepper until fully combined. Dunk the cauliflower into the marinade and spread it across all the florets. Make sure the whole head is covered except the bottom. Place it on the baking sheet and bake for 30-40 minutes or until browned and slightly crispy. The marinade will create a dry crust across the cauliflower. Let it sit for 10 minutes before slicing it into wedges. Enjoy! 


You can use vegan yogurt instead but make sure it is plain

I added extra cumin and garlic powder for an extra KICK!

Do not be afraid to get your hands dirty to spread the marinade!

Yeah... the marinade looks goopy and gross before it is baked

I use a sheet of aluminum foil to keep the baking tray clean

Baking for a little bit extra will make a very crispy crust!

Feel free to experiment with your spices! Use dill and parsley!

For an Indian twist, use more curry powder!

You can cut it into fourths to share with others...

...or just eat the whole thing yourself! (I did.)

Wednesday, February 26, 2014

Beet Hummus! from Healing Tomato

It is high time for a guest recipe! I have been following the Healing Tomato blog for a couple months now and have been fascinated by all of her recipes. It is a vegetarian blog but it would be very easy to turn her recipes vegan either by omission or vegan substitutions. When she posted this recipe for beet hummus, I just knew we were meant to be friends. I LOVE BEETS! I grew up on beets. My mom fed me beets like candy and I developed a taste for healthy vegetables. She used to put beets on cottage cheese and it was one of the best meals in the whole world. I have been meaning to look up some vegan cottage cheese to bring this memory back to me in vegan form. Anyway, back to the Healing Tomato. I do not even know her name but she is fabulous and the blog is a great read! Check her blog for the recipe for beet hummus! She is on Google+ as well. I will be making this as soon as I get a free moment. Working two jobs and being a full time student is very difficult, especially when trying to move across town during the middle of mid-term week! All this work will pay off in the long run. Who knows? Maybe this blog will transform from the Impoverished Vegan to the Almost-Above-Poverty-Line Vegan! Just one step closer to being the Rich Bitch Vegan that I have been dreaming of becoming.
 

Try it on apple slices, carrot sticks, pita bread, or triscuits!
The options are endless.

Monday, January 20, 2014

Roasted Red Pepper Mac & Cheese

Mmm*Mac & Cheese! Everybody loves it. It seems everyone I talk to says, "Yeah, I could not be a vegan because I would miss cheese too much!" Let me be the first to say I thought the same thing! I loved eating cheese. I had cheese with every meal. Cheese was a meal. Mac & Cheese was my favorite meal to eat when it was cold outside. My mother would always make me homemade cheese sauce over spaghetti noodles. I would request it every morning and it was my absolute favorite breakfast. Vegan cheese recipes can be super simple simulations of ooey-gooey cheese. 

Ingredients:

  • 3/4 cup raw cashews (soaked)              ($0.95)
  • 2 tsp. olive oil                                           ($0.01)
  • 1 onion, diced                                          ($0.18)
  • 2 cloves garlic, minced                           ($0.38)
  • 2 cups vegetable broth                           ($0.65)
  • 1 1/2 tbsp. corn starch                            ($0.05)
  • 1 1/2 tbsp. nutritional yeast                    ($0.18)
  • 1 roasted red pepper                              ($0.45)
  • 1 tbsp. tomato paste                              ($0.12)
  • 1 tsp. salt                                                 ($0.01)
  • 1 tsp. ground mustard                            ($0.03)
  • 1/2 tsp. turmeric                                      ($0.03)
  • 1 box of pasta                                         ($0.99)

Preparation:

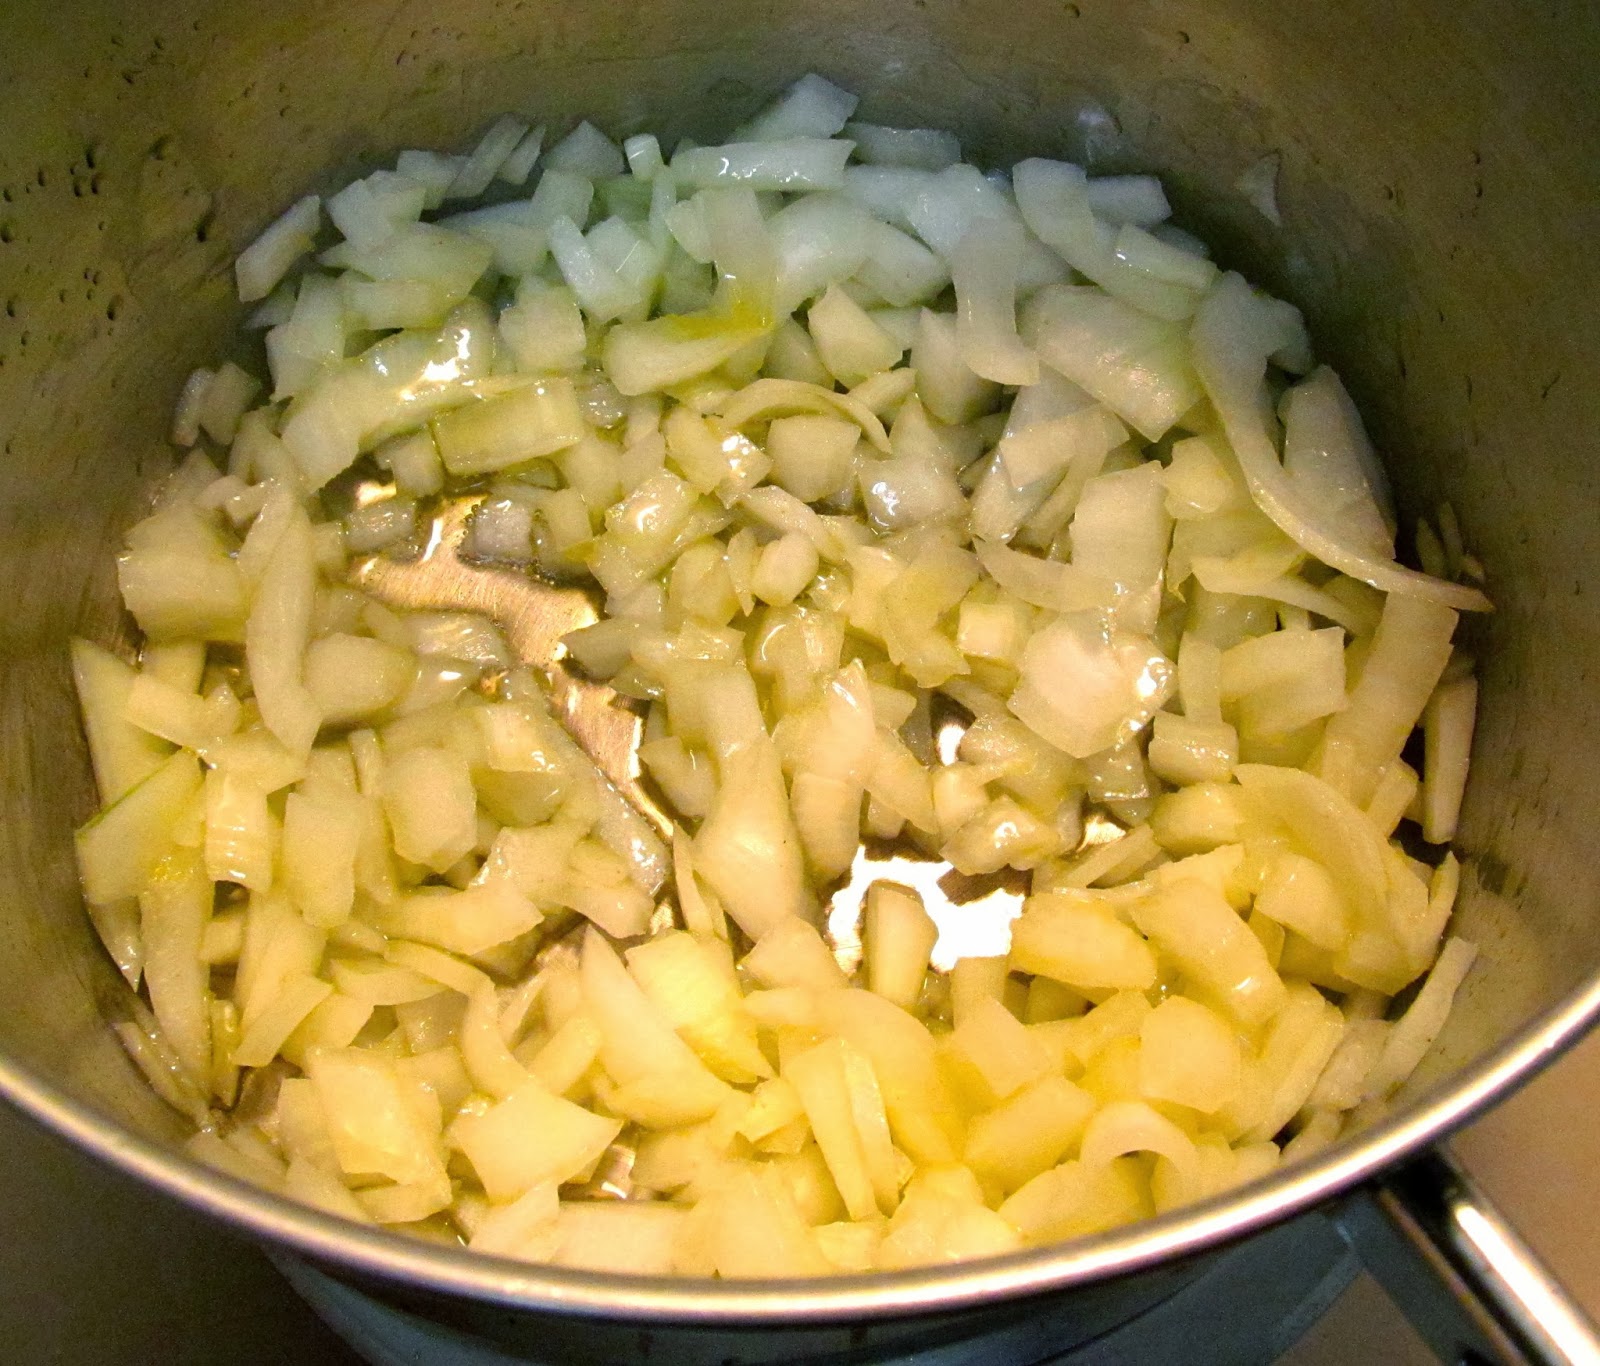
Cook the pasta according to the directions on the package. Sauté the onions in olive oil until they become translucent. It should not take more than 5 minutes. Add the garlic and sauté 30 seconds. You do not want to overcook the garlic and lose the flavor. Add this mixture to a blender or food processor. Add the drained cashews, vegetable broth, corn starch, nutritional yeast, red pepper, tomato paste, salt, ground mustard, and turmeric. Blend until smooth. Smoothness is important. If you have read my previous blogs involving cashews, you will understand that it is very important to have a smooth sauce. The texture is gritty, rough, and crunchy. Transfer the sauce to the pan used to sauté the onions. Heat on medium-low for 10 minutes or until it starts to thicken. Once thick, add the pasta until the whole mixture is warmed through. SERVE and MUNCH! 

Sautéing the garlic for only 30 seconds will keep the flavor
of the garlic at the optimal level 


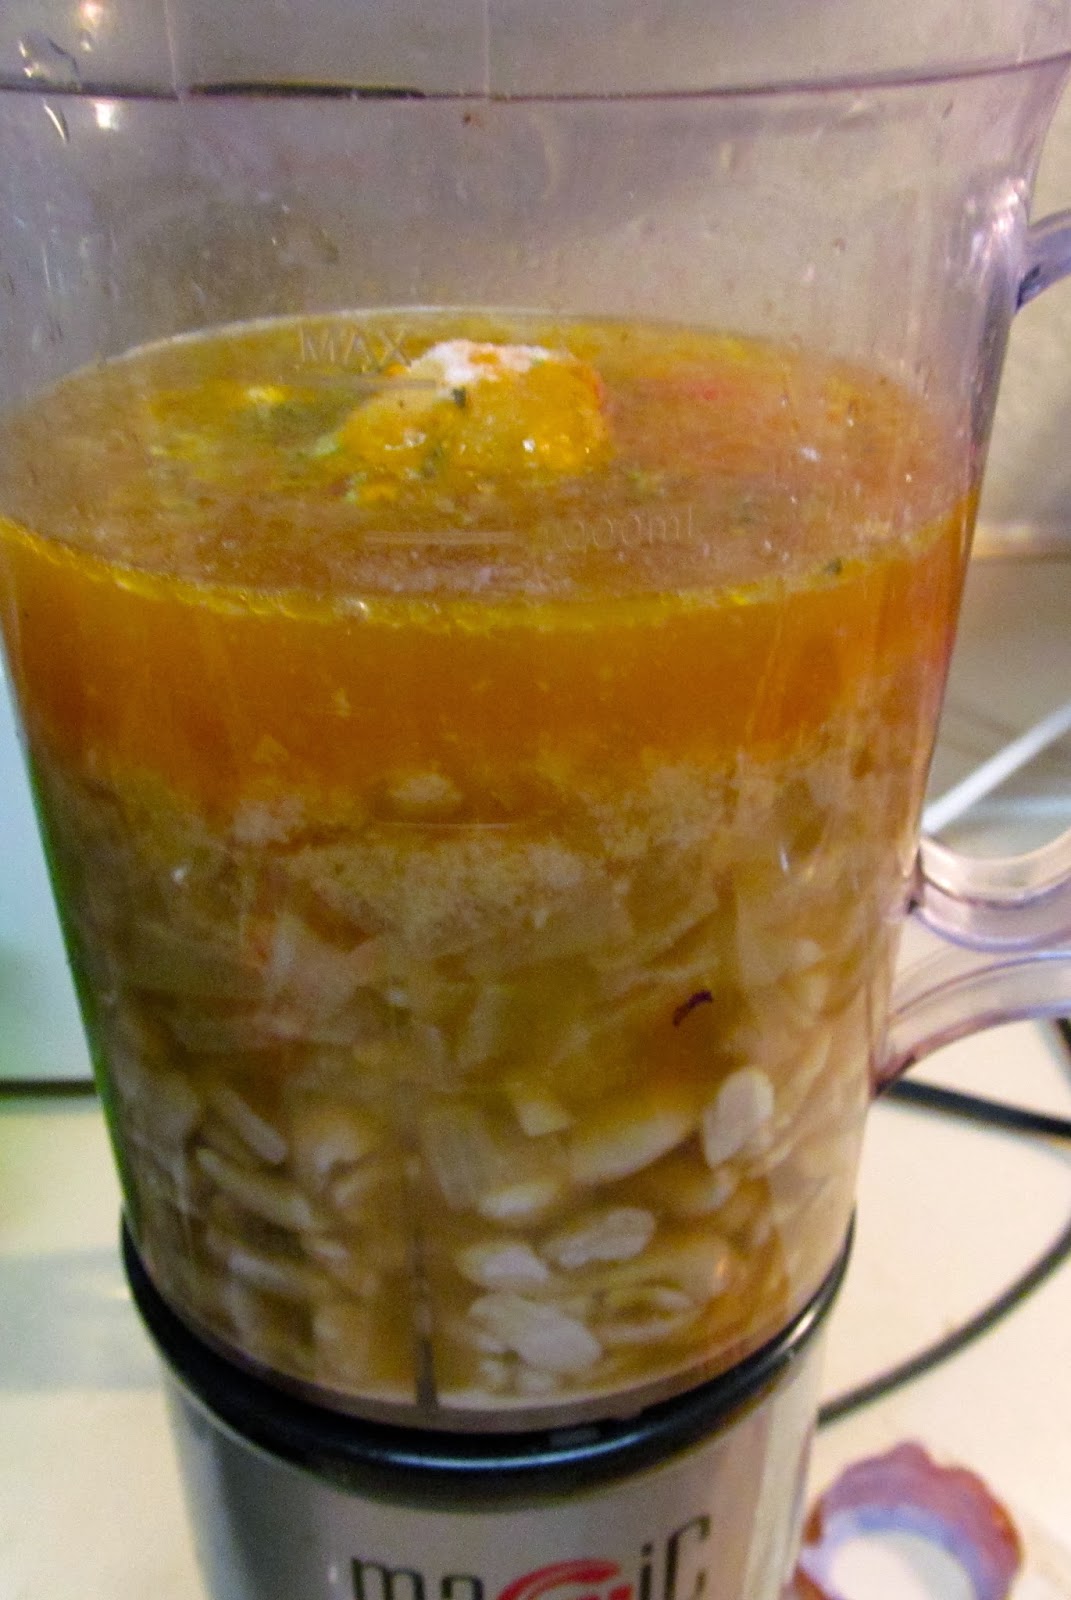
At first it was weird to add hot onions and garlic to a blender
but the flavors of these are key to creating a cheesy flavor!


The sauce will slowly thicken. KEEP STIRRING!
The first time I made this, I slightly burned the bottom
of the cheese sauce; it burns very easily so keep stirring

I used Lumaconi pasta instead of shell pasta or macaroni
because they look way cooler and they were
significantly less expensive at Aldi

There you have it. Delicious mac and cheese! 
Since it has been so long since I have had actual dairy cheese, the vegan mind will almost forget what actual cheese tastes like and this faux cheese will totally satisfy all of your cheese cravings! I will challenge any cheese-eater to try this cheese sauce and tell me that it does not imitate mac and cheese extremely closely. I am still working on a few more cheese blogs so get hype! I hope to publish them very soon! For now, enjoy this delightful take on the American staple using cashews instead of dairy! 

This is a modification of Isa Chandra's Pizza Mac & Cheese recipe from Post Punk Kitchen. I love her work and she is the most exceptional vegan chef! Check out her blog at the Post Punk Kitchen! 

Wednesday, December 18, 2013

Popcorn

"Popcorn?", you may say. Yes. I am indeed writing a blog post about how to make stovetop popcorn! Why? Because most people do not know how! Thanks to my dad and our movie nights growing up, I have always known how to use a pan, some oil, and the stove to pop up some of the most delicious corn you have ever tasted in your life. "But I can just go to the store and get a microwavable bag! It is much easier!", you may say. No. Surprisingly, it is literally the same amount of time and effort to pop your own popcorn than it is to buy the overpriced, mostly non-vegan, store-bought bags. 

Ingredients:

  • ⅓ cup popcorn kernels
  • 2 tbsp. oil of your choice

Here's what you do:


Heat the oil on medium heat with 3 kernels, covered. Why 3? I have zero idea. Just do it. When the first kernel pops, pour the rest of the kernels in and place the lid on again. Swirl the pan around the stove to keep the kernels and oil moving to prevent them sticking to the bottom of the pot. The popcorn will pop. And pop. And pop. Wait one minute and remove from heat. Trust me. You want all of the popping to be stopped. If a single kernel pops when you have the lid off most of the fluffy, light, airy popcorn will be strewn across your kitchen floor. Now you can take the lid off of the pot and serve with your favorite topping! Just plain old salt is amazing on it. Nutritional yeast also makes a great, savory, cheesy flavor. Why does this work? Huh. All I know is the concept behind this method is that when a random 3 kernels are heated and one of the kernels pops, the oil is at the perfect temperature and the popcorn will not turn out overcooked or burnt. 

Ever get tired of plain, salted, or buttery popcorn? The nutritional yeast from earlier is a miracle worker. Not only does it contain essential minerals and protein, it tastes like cheesy popcorn! I would place the flavor very close to cheddar. 

Here are a few interesting toppings for your popcorn to keep things from getting boring.

Ranch Style


  • ¼ tsp. onion powder
  • ¼ tsp. dried dill weed
  • ⅛ tsp. garlic powder
  • ⅛ tsp. sea salt
  • ⅛ tsp. black pepper
  • ⅛ tsp. vegetable oil
Mix this all together for a garden fresh, salty snack!

Sweet Chili

  • 3 tbsp. confectioners' sugar
  • ½ cinnamon powder
  • 1 tbsp. chili powder
  • ¼ tsp. sea salt
  • ¼ tsp. cayenne powder
  • 1½ tbsp. paprika
Mix this all together for a kick-in-the-mouth sweet and savory flavor!

Here is a link to so many great vegan popcorn toppings from Yummly.

This is my favorite combination for a topping
Buttery, salty goodness!

Three. Juuuuuuust three

Be sure to cover it, obviously, or there will be a poppy mess

Srsly tho. Make your own popcorn! Save all the money!

Pop! POP! pOp! PoP! pOP! POp!


Enhanced by Zemanta

Monday, December 9, 2013

Potato Latkes with Cranberry Applesauce

Just in time to miss Thanksgivukkah, these latkes are still crunchily delicious! I had intended to get this recipe out before Thanksgiving, but the holiday season is like the riptide currents in the Pacific Ocean; I was being torn every which way and had zero time to post any blogs. Now that life is seeming to calm before the storm of Christmas, I hope to regularly post to the blog again.

This cranberry applesauce is actually useful all fall! It combines traditional fall spices with the tartness of cranberries and green apples that can be served warm or chilled!

Ingredients:

  • 2 cups fresh cranberries         ($0.89)
  • ½ tsp. ground cinnamon             -
  • ½ tsp. ground nutmeg                -
  • ¼ cup brown sugar                ($0.23)
  • ½ cup sweet red wine            ($1.25)
  • 4 green apples                       ($2.76)
Combine the cranberries, cinnamon, nutmeg, brown sugar, and wine in a medium sauce pan and bring to a boil. Reduce heat to low and simmer for 20 minutes. Core, peel, and slice the apples into bite sized chunks. Add the apples, cover, and simmer an additional 20 minutes. Remove from heat, let cool and SERVE!

Red wine brings out the subtle sweetness of the cranberries

I left the skins on the apples the first time but the final
consistency was a bit too chewy

Cook away! The lid is important to keep the steam
inside the pan so it does not dry out

Deliciously sweet and tart cranberry applesauce!
Fried potatoes are basically all you ever crave in life. These potato latkes take a small amount of extra preparation, but are ever so worth it! 

Ingredients:

  • 2 large onions, diced          ($0.24)
  • 1 unit egg replacer                  -
  • 2 tbsp. whole wheat flour       -
  • 1¼ tsp. sea salt                      -
  • 1 tsp. baking powder             -
  • 2 lbs. potatoes                    ($1.27)
  • Vegetable oil for frying        ($0.98)
Grate the potatoes. Place them in the center of a thin cloth like a cheesecloth and wring out the liquid over a bowl. Dice the onions and add the potatoes and onions to a mixing bowl. Pour out the liquid from the potatoes until only the starch remains. Scrape the starch into the mixing bowl. In a separate bowl, mix together the egg replacement, flour, sea salt, and baking powder. Stir until fully incorporated. Add this mixture to the potatoes and onions. Stir well. Heat about 4 inches of oil to 375°F, or slightly above medium heat. Take a handfuls of the mixture and flatten them into 2 inch wide circles. Drop them in the oil with a slotted spatula 3 at a time. If you place too many in the oil, the temperature will drop and the latkes will not cook correctly. Fry until they are golden brown. Place aside to cool on a paper towel. Top with the cranberry applesauce and a dollop of vegan sour cream and you have an instant Thanksgivukkah feast! 

A food processor with a grater attachment is
a much quicker way to grate them
I live in the stone age and hand grated all the potatoes

I also hand diced all the onions
If one of my lovely readers is ever so kind enough
to buy me a food processor I will dedicate a week of my time to
cook for them

This may be the hardest step in the recipe
Keep moving the potatoes around to get the most liquid out

Red skin potatoes will turn your cloth pink
JUST A FAIR WARINING: it does not come out

Eww...delicious starch!

The Batter
My proportions were wrong because I used EnerG egg replacer
If the mixture is too liquidy, add more flour and baking powder
LIQUIDY: (adj.) - the state of being more liquidy than desirable

I have said this before and I will say it again:
DO NOT LET THE CRISPIES THAT FLOAT AROUND
STAY IN THE PAN OR THEY WILL BURN DOWN YOUR HOUSE!

What a nice hipster pic taken with ôggl by Hipstamatic
Jimmy lens with Blanko Noir film for those that care
Seriously though. Make these latkes even if Thanksgiving was last week and you still have 3 half-eaten casseroles in the fridge! It is definitely still fall until December 21st and definitely still the season for fall foods! 
Enhanced by Zemanta